Completing the Installation
You have installed the components necessary to start using Hammerspace. Before using Hammerspace in production, complete licensing — see Licensing.
Verifying the Installation
Before handing the cluster over or starting configuration work, confirm that each part of the installation finished the way it was meant to. Every check below is read-only — none of them change the configuration — so they are safe to run at any point after installation, and they can be done in any order.
-
Confirm the Anvil nodes are healthy. Log in to the Management GUI in a browser, using the Anvil Data Cluster IP address you set during installation, and open . The Anvil Nodes panel shows one card per Anvil with a green check when the node is healthy; in a two-node HA deployment both Anvil nodes should be present, one card headed Primary and the other Secondary, and the Status at the top right of the page should read High Availability. From the Admin CLI,
node-listlists every node with its state — each Anvil should show Product node typeAnvil, HW stateOKand Node modeONLINE— andcluster-configshows which Anvil is the primary in its Metadata servers line (Role: Primary):Admin CLInode-listExpected output (two-node HA cluster; a standalone deployment lists one Anvil):
total 4
Name:                    anvil1.example.com
Type:                    Product
Product node type:       Anvil
Internal ID:             1073741831
ID:                      2df81f5b-8e0f-5077-a0ce-f40e2a1093f0
HW state:                OK
Node state:              MANAGED
Node mode:               ONLINE
Management IP:           192.0.2.11/20
SW version:              5.2.14-1266

Name:                    anvil2.example.com
Type:                    Product
Product node type:       Anvil
Internal ID:             1073741832
ID:                      8b6d6ff7-43a5-51b2-957e-5062e8f758c6
HW state:                OK
Node state:              MANAGED
Node mode:               ONLINE
Management IP:           192.0.2.12/20
SW version:              5.2.14-1266

Name:                    dsx.example.com
Type:                    Product
Product node type:       DSX
Internal ID:             1073741834
ID:                      2c7ac822-2cc2-590e-86cb-f52f71b8882a
HW state:                OK
Node state:              MANAGED
Node mode:               ONLINE
Management IP:           192.0.2.21/20
SW version:              5.2.14-1266
<Additional output removed for brevity>
cluster-config -
Confirm the quorum server is connected. This applies to two-Anvil HA deployments, which require an external quorum server. Connect to the Anvil cluster IP as the
sysadminuser and runquorum-device-status. In the output, State should readConnected. For the full output and for configuration steps, see Installing and Configuring a Quorum Server. -
Confirm the DSX nodes are online. In the Management GUI, navigate to . Each DSX node you installed should be listed there under its host name, with Type
Hammerspace; the list shows no node state, so for the node’s health open , where each product node has a green check, or runnode-listfrom the Admin CLI and confirm Node modeONLINE. A DSX node installed with Auto-join Anvil enabled is added automatically, provided the Anvil administrator credentials were entered correctly during its installation.If you installed DSX nodes at the same time as the Anvils, a DSX node may take a little longer to appear. The DSX configuration process pauses for 60 seconds and retries until the Anvil is reachable. -
For VMware deployments, confirm time synchronization is disabled for each VM. This is a per-VM vSphere setting, not something the installer applies, so it is easy to miss — and it has to be done for every Anvil and DSX virtual machine, not just once for the cluster. See the time synchronization section.
-
Confirm licensing once it is complete. Licensing is covered in Licensing. After a license has been applied, verify it from the Admin CLI with
license-list, where the Status field should readValid, or open the tab in the Management GUI, where a valid license is listed with a green check.
Next Steps
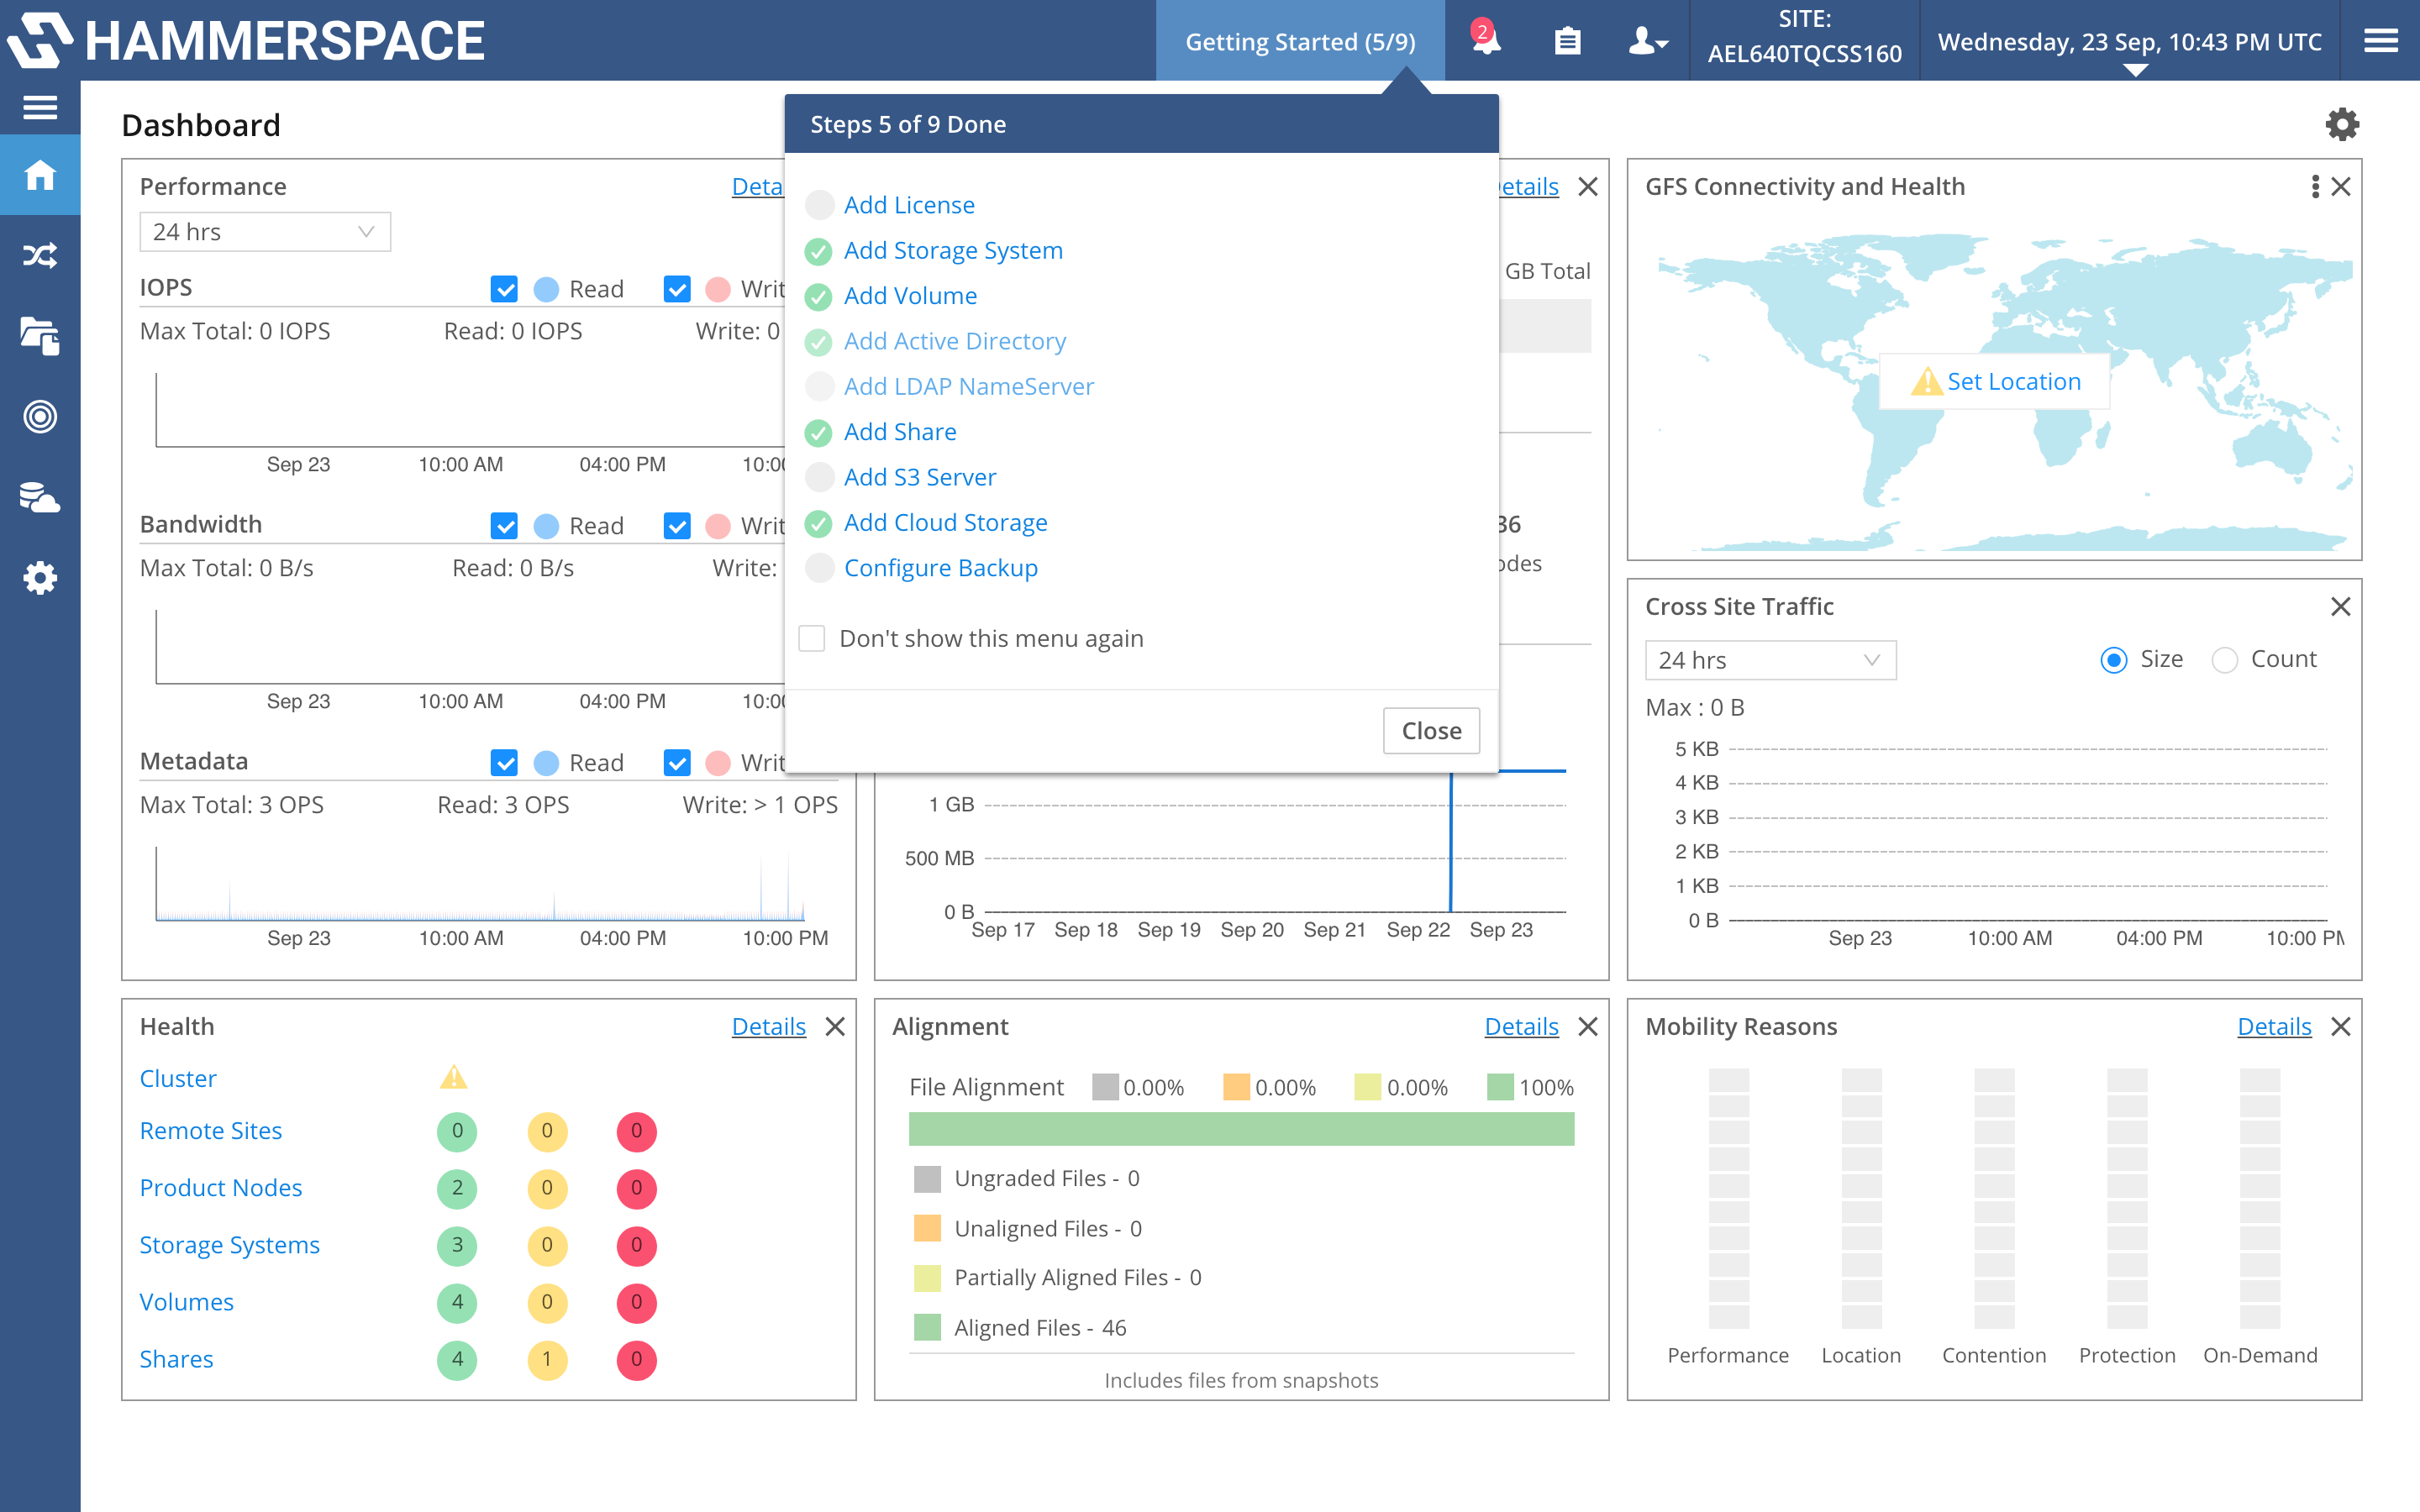
Log in to the Management GUI and use the Getting Started checklist — the Getting Started button in the top bar — to finish the most common setup steps. Each item is a link to the page where that step is done, and the button’s count shows how many are complete.