Adding Storage Capacity
Using the GUI, you can easily add your stored data to Hammerspace by adding storage systems and volumes on which it is stored. Add a new NAS or Object storage system, or add volumes from storage systems that are already recognized by the cluster.
Adding a Storage System
Complete the following steps to add a data storage system to Hammerspace:
-
In the GUI, go to the Infrastructure page and click the Storage Systems tab.
-
Click Add Storage System. The Add Storage System wizard opens.
-
Provide the requested details:
-
Provide a name for the storage system.
-
Select NAS for the storage type. It might already be selected by default.
-
Provide the storage type and then the access details.
-
-
Click Add System.
Adding a Storage Volume
Complete the following steps to add a storage volume:
-
In the GUI, go to the Infrastructure page. The Volumes tab is visible by default.
-
In the Volumes tab, click Add Volume. The Add Volumes wizard opens.
-
In the Selections tab, select the storage system that contains the volumes you wish to add. Check the box next to the storage system and click Next Step to advance. Optionally, you can click on the name of the system and select specific volumes to permit in the following step.
-
In the Data tab, specify access permission and whether to assimilate the existing data on the volume. This action will take some time and is not reversible. Make the appropriate selections and click Next Step.
If the data on the volume has already been assimilated on another Anvil, then if you assimilate or add it in read/write mode, previous metadata will be deleted, and the data will no longer be accessible. -
In the Capacity tab, you can adjust capacities and mobility thresholds for each of the volumes to be added. If capacity is already set on the volume(s) or system, you will not be able to change these settings. Click Next Step.
-
In the Capability tab, you can leave the Auto settings or adjust the durability and availability requirements for the volume(s). Changing the Auto setting to a specific number-of-nines allows you to then add those settings to an objective and/or skip the performance test of the settings.
-
In the IP tab, view the discovered IPs for the volume and edit additional and excluded IPs as needed. Click Next Step.
-
In the Review & Add tab, review the configuration. If the configuration settings are correct, click Add Volume.
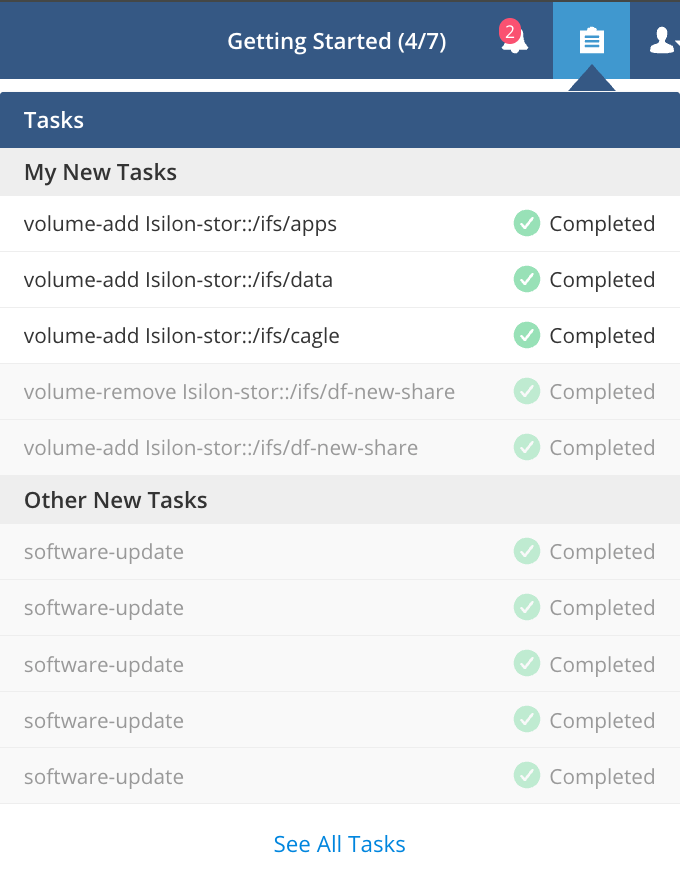
The GUI will take you back to the tab while the system performs the operation. You can view the status of the operation by clicking on the Tasks tab at the top of the page.
Resizing a 3rd Party NAS Volume
Resizing a 3rd party NAS volume is as simple as resizing the NAS volume as needed, and either manually refreshing or waiting for the system to automatically refresh the capacity information.