Removing Storage
Part 1: Identifying the Volume
-
Go to tab in the GUI. Locate the volume you want to decommission and press the Decommission
 icon under the Actions column.
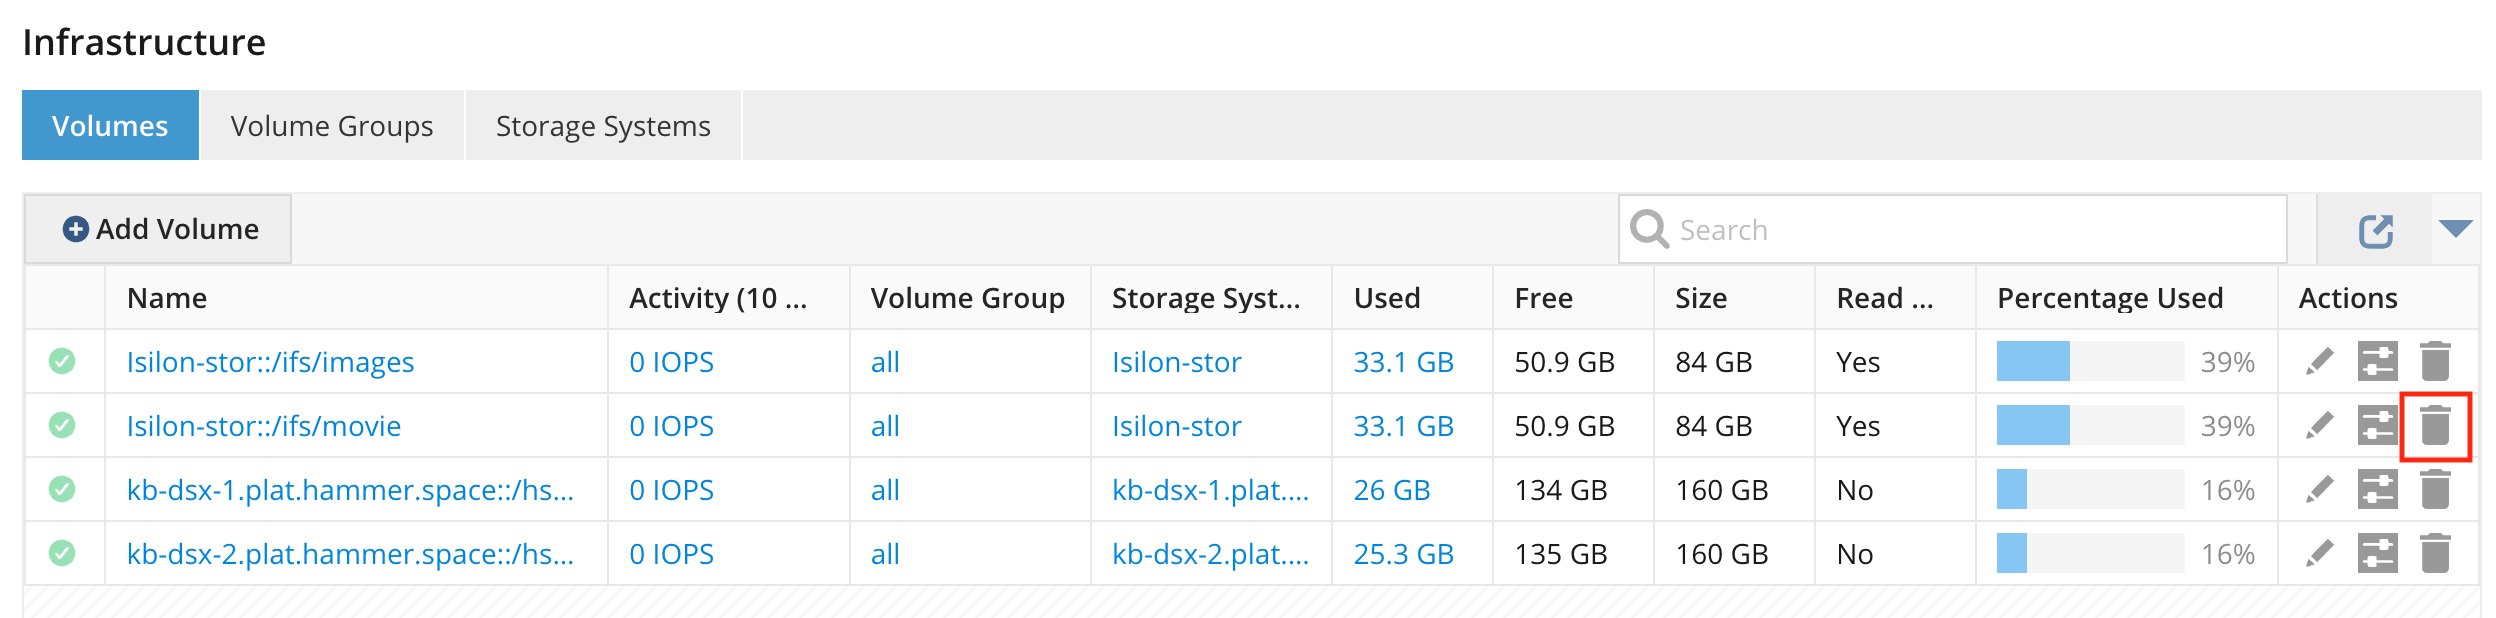 Figure 1. Volume decommission icon
 -
In the Decommission Volume popup, direct the software to replace the volume with a volume on which to move the data from the decommissioning volume. Select whether to remove the volume following the decommissioning. If the volume is not selected for removal, it must be removed manually after the decommissioning operation completes.
Confirm your intent to remove the storage volume by typing "Yes" into the field and clicking Decommission.
Data will non-disruptively be placed on other volume(s), and the volume will be emptied of data. If there is not enough capacity to relocate all the data, the decommissioning process will not complete until additional capacity or a cloud/object volume has been added to the system.
-
After decommissioning, you can verify operation success in the Tasks view.
-
If the volume was not deleted as part of the Decommissioning workflow, navigate into the Volumes view and press the Delete action. A decommissioned volume cannot be used to store data, nor can it be added back until it has been deleted.
Part 2: Deleting the Logical Volume (CLI Only)
Deleting a logical volume requires the Admin CLI. This step is required before removing the actual storage from the node.
-
Log in to the Admin CLI and run the
logical-volume-deletecommand. -
Ensure that the correct device path is specified by referencing information from
drive-listor output ofnode-list --name <NODE-NAME>.
| Volumes that are in use cannot be deleted and they must be decommissioned first. |