Removing Storage
Part 1: Identifying the Volume
-
Go to tab in the GUI. Locate the volume you want to decommission and press the Decommission
 icon under the Actions column.
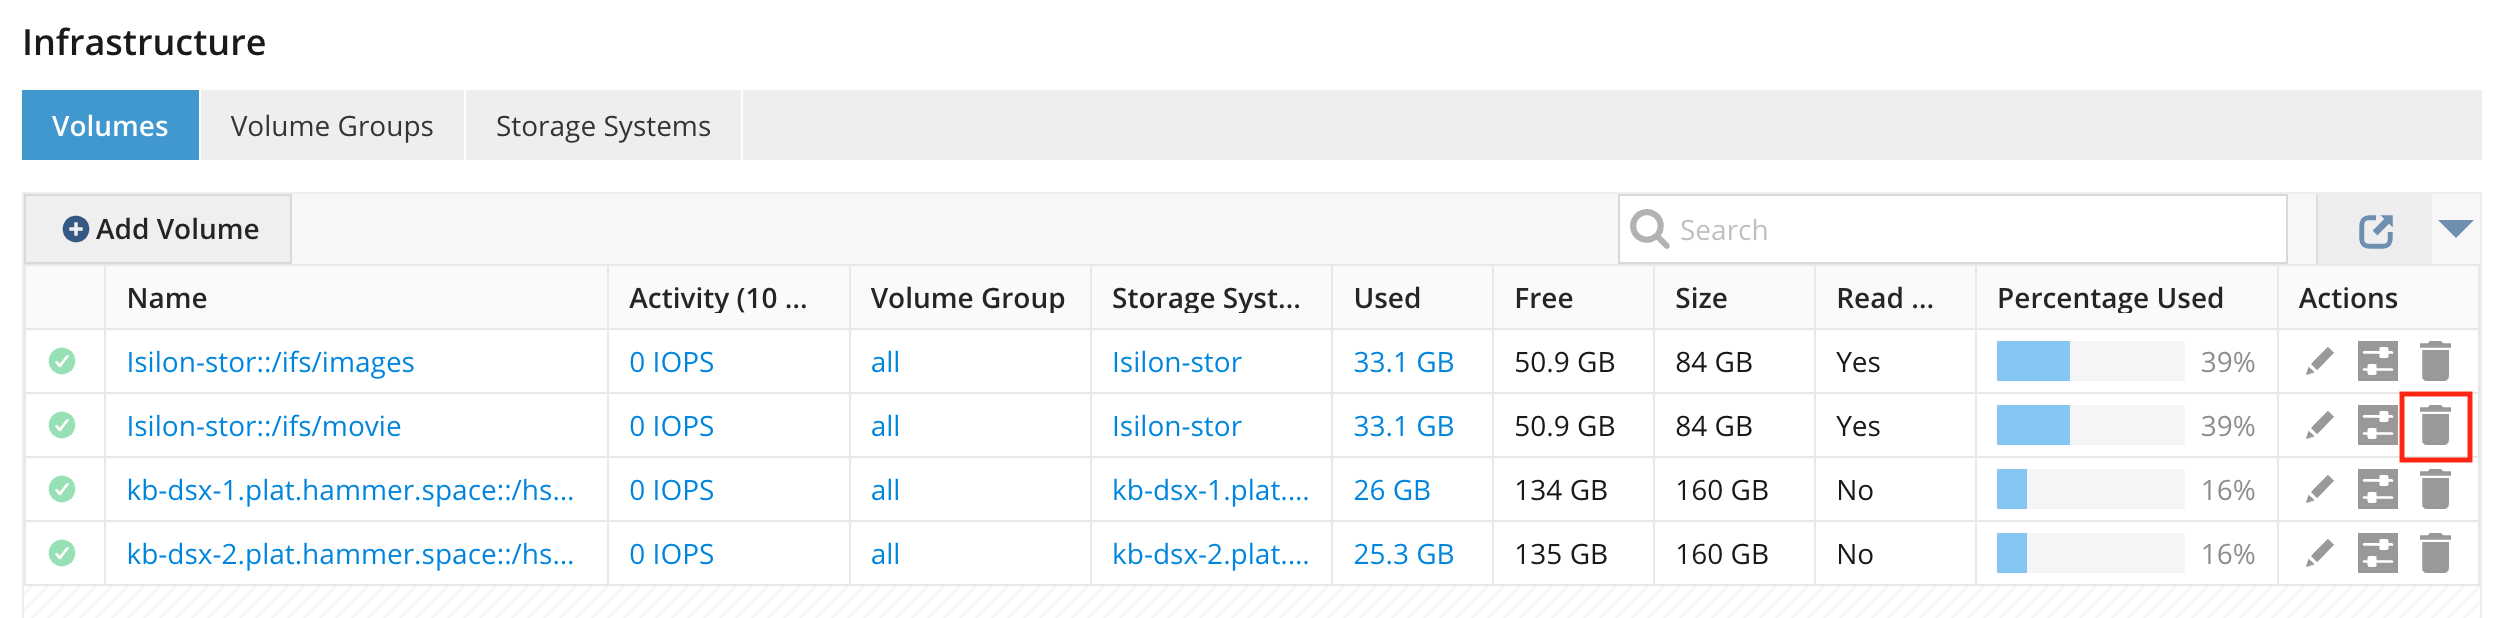 Figure 1. Volume decommission icon
 -
In the Decommission Volume popup, direct the software to replace the volume with a volume on which to move the data from the decommissioning volume. Select whether to remove the volume following the decommissioning. If the volume is not selected for removal, it must be removed manually after the decommissioning operation completes.
Confirm your intent to remove the storage volume by typing "Yes" into the field and clicking Decommission.
Data will non-disruptively be placed on other volume(s), and the volume will be emptied of data. If there is not enough capacity to relocate all the data, the decommissioning process will not complete until additional capacity or a cloud/object volume has been added to the system.
-
After decommissioning, you can verify operation success in the Tasks view.
-
If the volume was not deleted as part of the Decommissioning workflow, navigate into the Volumes view and press the Delete action. A decommissioned volume cannot be used to store data, nor can it be added back until it has been deleted.
What Happens During a NAS Volume Decommission
For a NAS volume, Hammerspace works through an ordered sequence of stages. Understanding the order helps you tell normal progress from a stall:
-
DME quiesce — no new data placement or ingress on the volume.
-
Envoy quiesce.
-
PDFS quiesce.
-
DME regrade.
-
Instance drain, followed by a stronger
safeToCleancheck. -
Cleaning.
-
Final transition to
DECOMMISSIONED.
Keep the following in mind while the task runs:
-
Acknowledgements from the affected components must match the current modification count and reach 100%. Stale, missing, or partial acknowledgements do not advance the task.
-
System Management waits five minutes before republishing. Repeated timeouts identify which component is blocking, but the task keeps waiting rather than failing.
-
The meaningful progress indicators are the workflow stage, the task status, and the "N instances remaining" count. The task percentage on its own does not prove that the decommission finished safely.
-
Insufficient replacement capacity, or a DME readiness condition that has not cleared, can leave the task waiting at instance removal.
-
You can cancel through instance removal. Once cleaning or finalization has begun, the task cannot be cancelled.
Do not physically disconnect or delete the backing storage until the task has completed successfully and the volume shows a state of DECOMMISSIONED with a workflow stage of NONE.
|
Part 2: Deleting the Logical Volume (CLI Only)
Deleting a logical volume requires the Admin CLI. This step is required before removing the actual storage from the node.
-
Log in to the Admin CLI and run the
logical-volume-deletecommand. -
Ensure that the correct device path is specified by referencing information from
drive-listor output ofnode-list --name <NODE-NAME>.
| Volumes that are in use cannot be deleted and they must be decommissioned first. |